Step-by-Step Lean-To Shed DIY: Build a Practical Storage Solution
Tired of clutter overflowing your garage or backyard? A lean-to shed offers a simple, cost-effective solution for extra storage space. This guide walks you through building your own, providing a practical and aesthetically pleasing addition to your property. Forget expensive contractors; with a little elbow grease and this detailed plan, you'll have a new shed in no time!
Planning and Preparation: Laying the Foundation for Success
Before you grab a hammer, thorough planning ensures a smooth build. Start by determining the desired dimensions of your lean-to. Consider the space available and the amount of storage you need. Sketch a simple design, noting the height, width, and depth. Next, obtain the necessary building permits from your local authorities. This critical step avoids potential legal issues down the line. Finally, gather your materials. A comprehensive list, including specific measurements, is crucial. Don't forget essential tools like a level, measuring tape, saw, hammer, and drill.
Essential Materials List:
- Pressure-treated lumber for the frame (4x4 posts, 2x4s for rafters and walls)
- Plywood or OSB sheeting for the walls and roof
- Roofing felt or shingles
- Nails, screws, and other fasteners
- Concrete mix (for the foundation, if desired)
- Exterior-grade paint or sealant (optional)
Building the Frame: The Backbone of Your Lean-To
The foundation of your lean-to is the frame. Begin by preparing the ground. If building on concrete, skip this step; otherwise, level the area and create a compacted base. For a simple foundation, you can use pressure-treated 4x4 posts set in concrete. Ensure these posts are plumb and level using a spirit level. Next, construct the main frame using 2x4s, connecting them to the posts with sturdy screws or nails. Remember to reinforce corners for added stability. This frame will support the entire structure, so precision is key.
Securing the Frame:
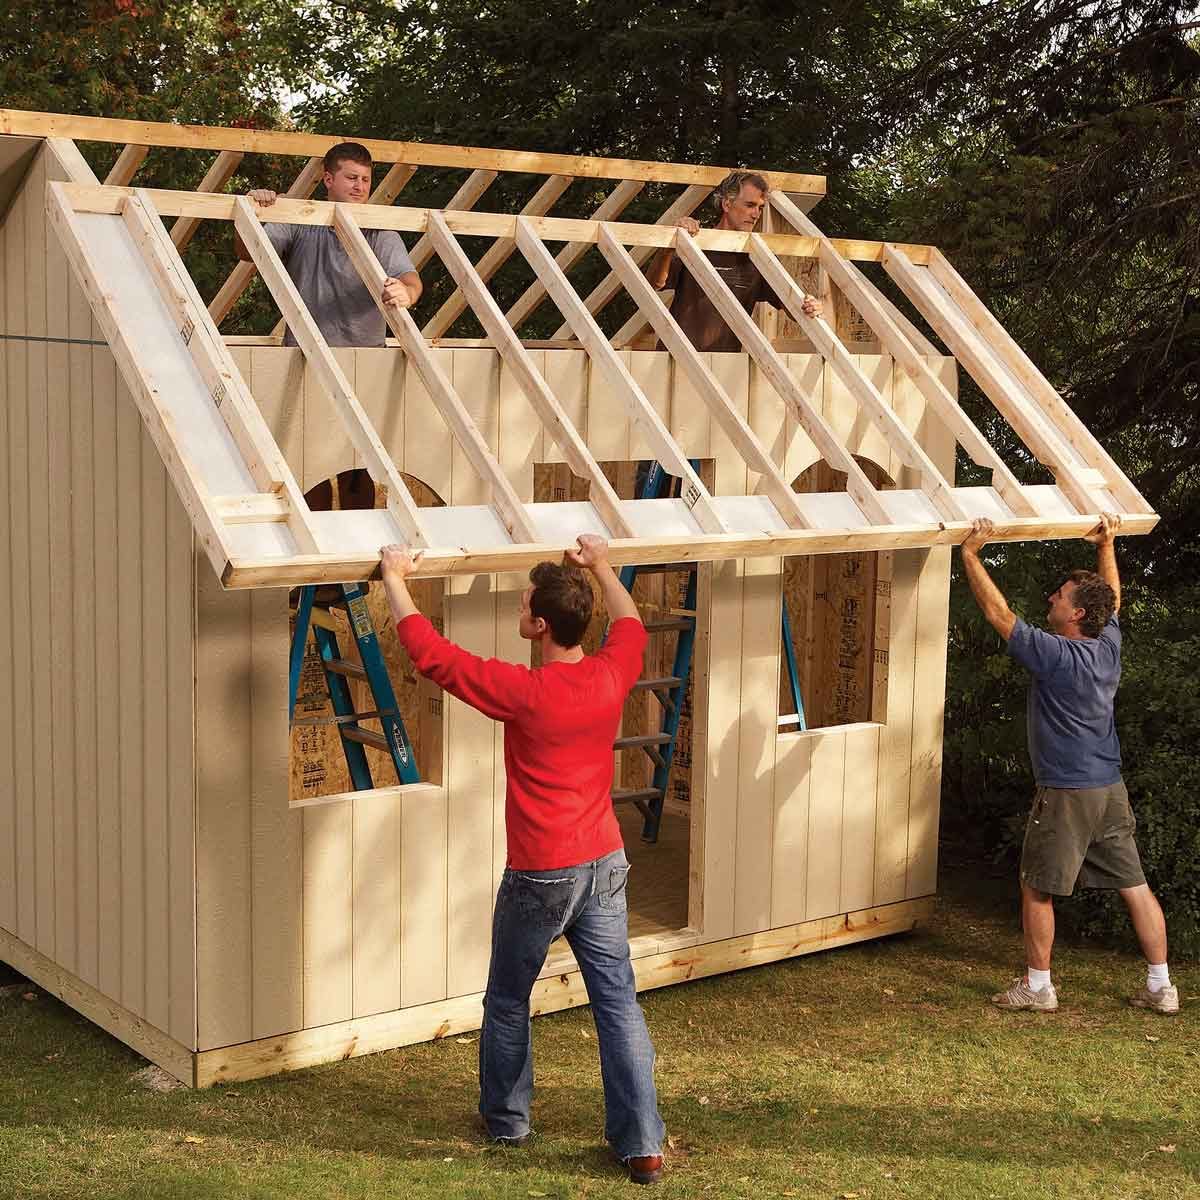
Utilize metal brackets or strong corner bracing to ensure the frame's rigidity. This step prevents warping and adds significant strength to your lean-to structure. Once the main frame is complete, install the rafters that will support the roof. Space these evenly and secure them firmly to the main frame.
Sheathing and Roofing: Weatherproofing Your New Shed
With the frame complete, it's time to sheathe the walls and roof. Cut and attach plywood or OSB sheeting to the frame, ensuring a tight fit to prevent drafts. Use appropriate nails or screws for secure attachment. For the roof, install roofing felt or shingles, overlapping each layer to guarantee a waterproof seal. Proper roofing is essential for protecting your stored items from the elements. Pay close attention to the seams to ensure no water can penetrate. Remember to add flashing around any edges for extra protection.
Finishing Touches: Adding the Final Details
Once the sheathing and roofing are complete, add a door and any windows you desire. You can also add trim to enhance the aesthetics. Consider painting or sealing the exterior to protect the wood from moisture damage and improve the look of your new shed. A final coat of weather-resistant paint will extend the lifespan of your lean-to shed considerably. Remember to apply a second coat for complete protection.
Congratulations! You've successfully built your own lean-to shed. Enjoy your new, practical, and personalized storage solution. Remember to regularly inspect and maintain your shed to ensure its longevity.
0 comments:
Post a Comment
Note: Only a member of this blog may post a comment.