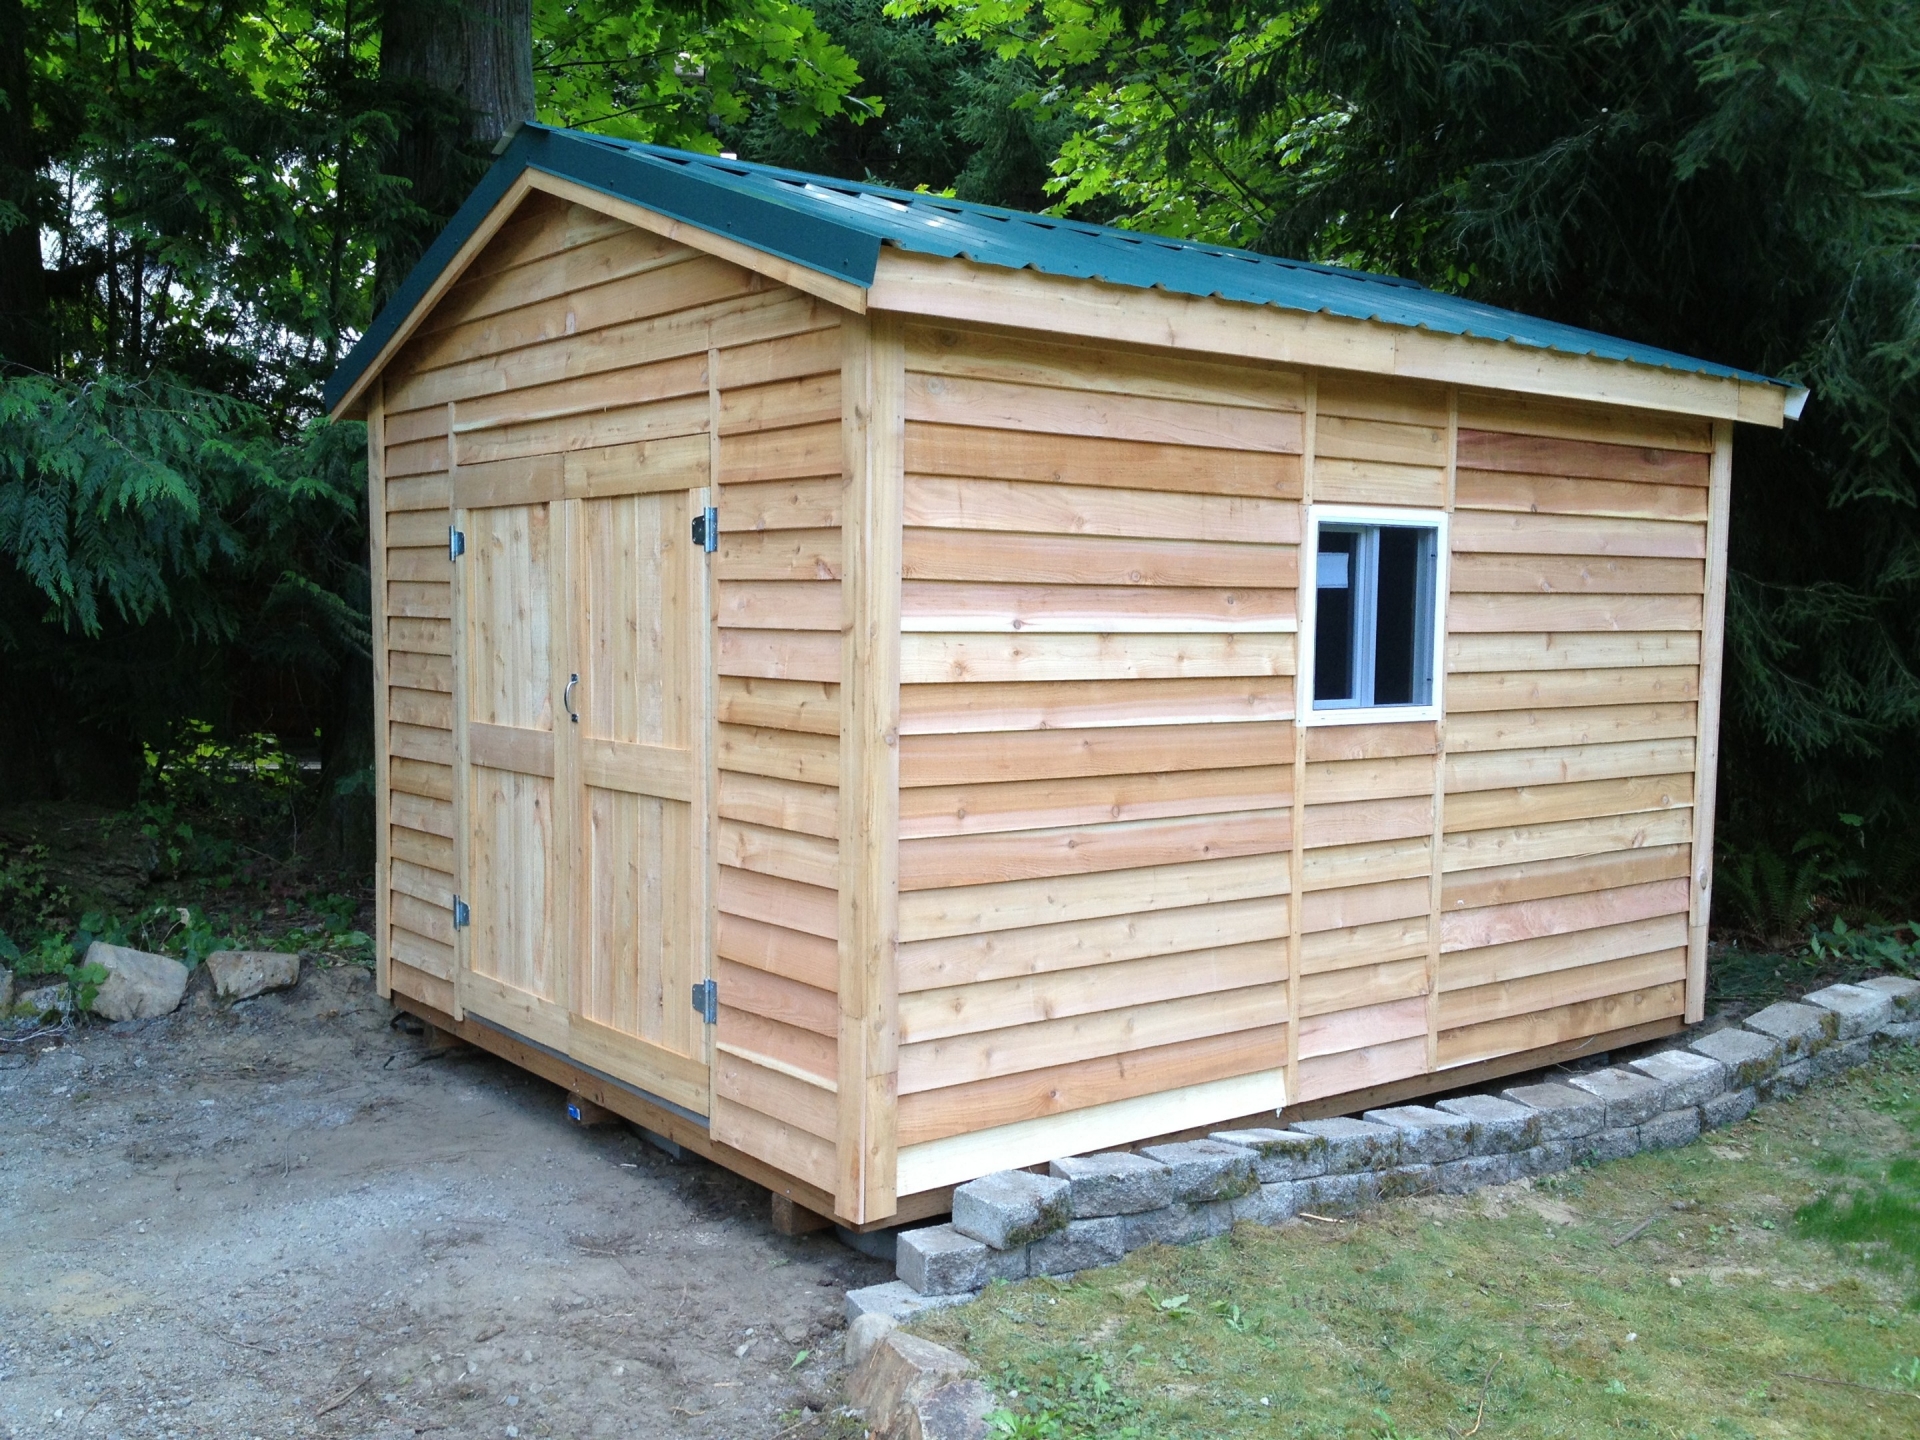
Okay, let's get down to business. You're ready to build a shed. Maybe you're tired of tripping over tools in the garage, or maybe you're just itching to flex those DIY muscles. Whatever your reason, a 10x12 shed is a fantastic choice â€" it's big enough for all your stuff but not so large it becomes a major construction project.
This guide is your roadmap to building that perfect shed. We'll walk through every step, from choosing the right materials to nailing down the finishing touches.
Step 1: Planning and Permits
Before you get your hands dirty, take some time to plan. This is like the foundation of your shed, and a good plan will save you headaches later on. Here's what to consider:
Location, Location, Location: Choose your shed site carefully. Think about sunlight, access, and proximity to your house. Make sure you have enough room for the shed itself and for comfortable movement around it.
Foundation: A concrete slab is the most robust foundation, but you can also use a gravel base or pressure-treated wood. The best choice depends on your budget and the soil conditions.
Materials: You've got options! Pressure-treated lumber is a good choice for the frame, but consider using cedar or redwood for a more natural look. Choose a durable roofing material like asphalt shingles or metal.
Style: Do you want a simple shed or something with a more stylish design? There are endless possibilities, from traditional shed designs to more modern styles.
Permits: Before you even think about breaking ground, check your local building codes. You might need a permit for your shed, depending on its size and location.
Step 2: Foundation and Framing
Let's start with the groundwork. A solid foundation is essential for a sturdy shed.
Concrete Slab: This is the most durable option. You'll need to hire a concrete contractor or rent a concrete mixer. Be sure to pour a smooth, level slab.
Gravel Base: A gravel base is a budget-friendly option, especially if you have good drainage. Simply excavate your site, lay down a layer of gravel, and compact it firmly.
Pressure-Treated Wood: A wood foundation is a good choice if you're working with soft soil. Use pressure-treated lumber for posts and beams, and make sure they're buried below the frost line.
Now, let's frame that shed!
Walls: Start by building the wall frames. Use 2x4 lumber for the studs and plates, and make sure the corners are square.
Roof: The roof can be a simple gable design or something more elaborate. Frame the rafters, and make sure they are properly supported with joists.
Floor: You'll need to build the floor frame on top of the foundation. Use 2x8 or 2x10 lumber for joists, spaced 16 inches apart.
Step 3: Sheathing and Roofing
Now it's time to cover the walls and roof.
Sheathing: Use plywood or OSB sheathing to cover the wall and roof frames. This will give you a smooth surface for siding and roofing.
Roofing: Choose your roofing material wisely. Asphalt shingles are affordable and easy to install, while metal roofing is more durable and energy-efficient.
Siding: Your siding options are endless! You can choose from wood, vinyl, metal, or even composite materials. Consider your budget and the style you're going for.
Step 4: Doors and Windows
Now for the fun part â€" adding doors and windows.
Doors: Choose a door that's the right size for your needs. You can opt for a single door, double doors, or even a sliding door.
Windows: Windows can add light and ventilation to your shed. Consider the size and style you want, and make sure they're properly framed and installed.
Step 5: Finishing Touches
Now, let's make your shed shine!
Trim: Add some trim to the exterior of your shed for a polished look. You can use wood trim, vinyl trim, or even metal flashing.
Paint or Stain: Give your shed a fresh coat of paint or stain to protect it from the elements. Consider a color that complements your home and yard.
Interior: If you're going to use your shed for more than just storage, you may want to add some finishing touches to the interior. You can paint the walls, add insulation, and even install electrical outlets.
Step 6: Finishing Touches
And there you have it â€" your brand-new shed, ready for all your belongings!
Organization: Don't let your shed become a cluttered mess. Add shelving, hooks, and storage bins to keep everything organized.
Maintenance: Keep your shed in good shape by regularly cleaning it and repairing any damage.
Building a shed is a rewarding project. It's a chance to get your hands dirty, learn some new skills, and create a valuable addition to your property. Don't be afraid to experiment and add your own personal touch. Your shed is an expression of your style and creativity!
0 comments:
Post a Comment
Note: Only a member of this blog may post a comment.