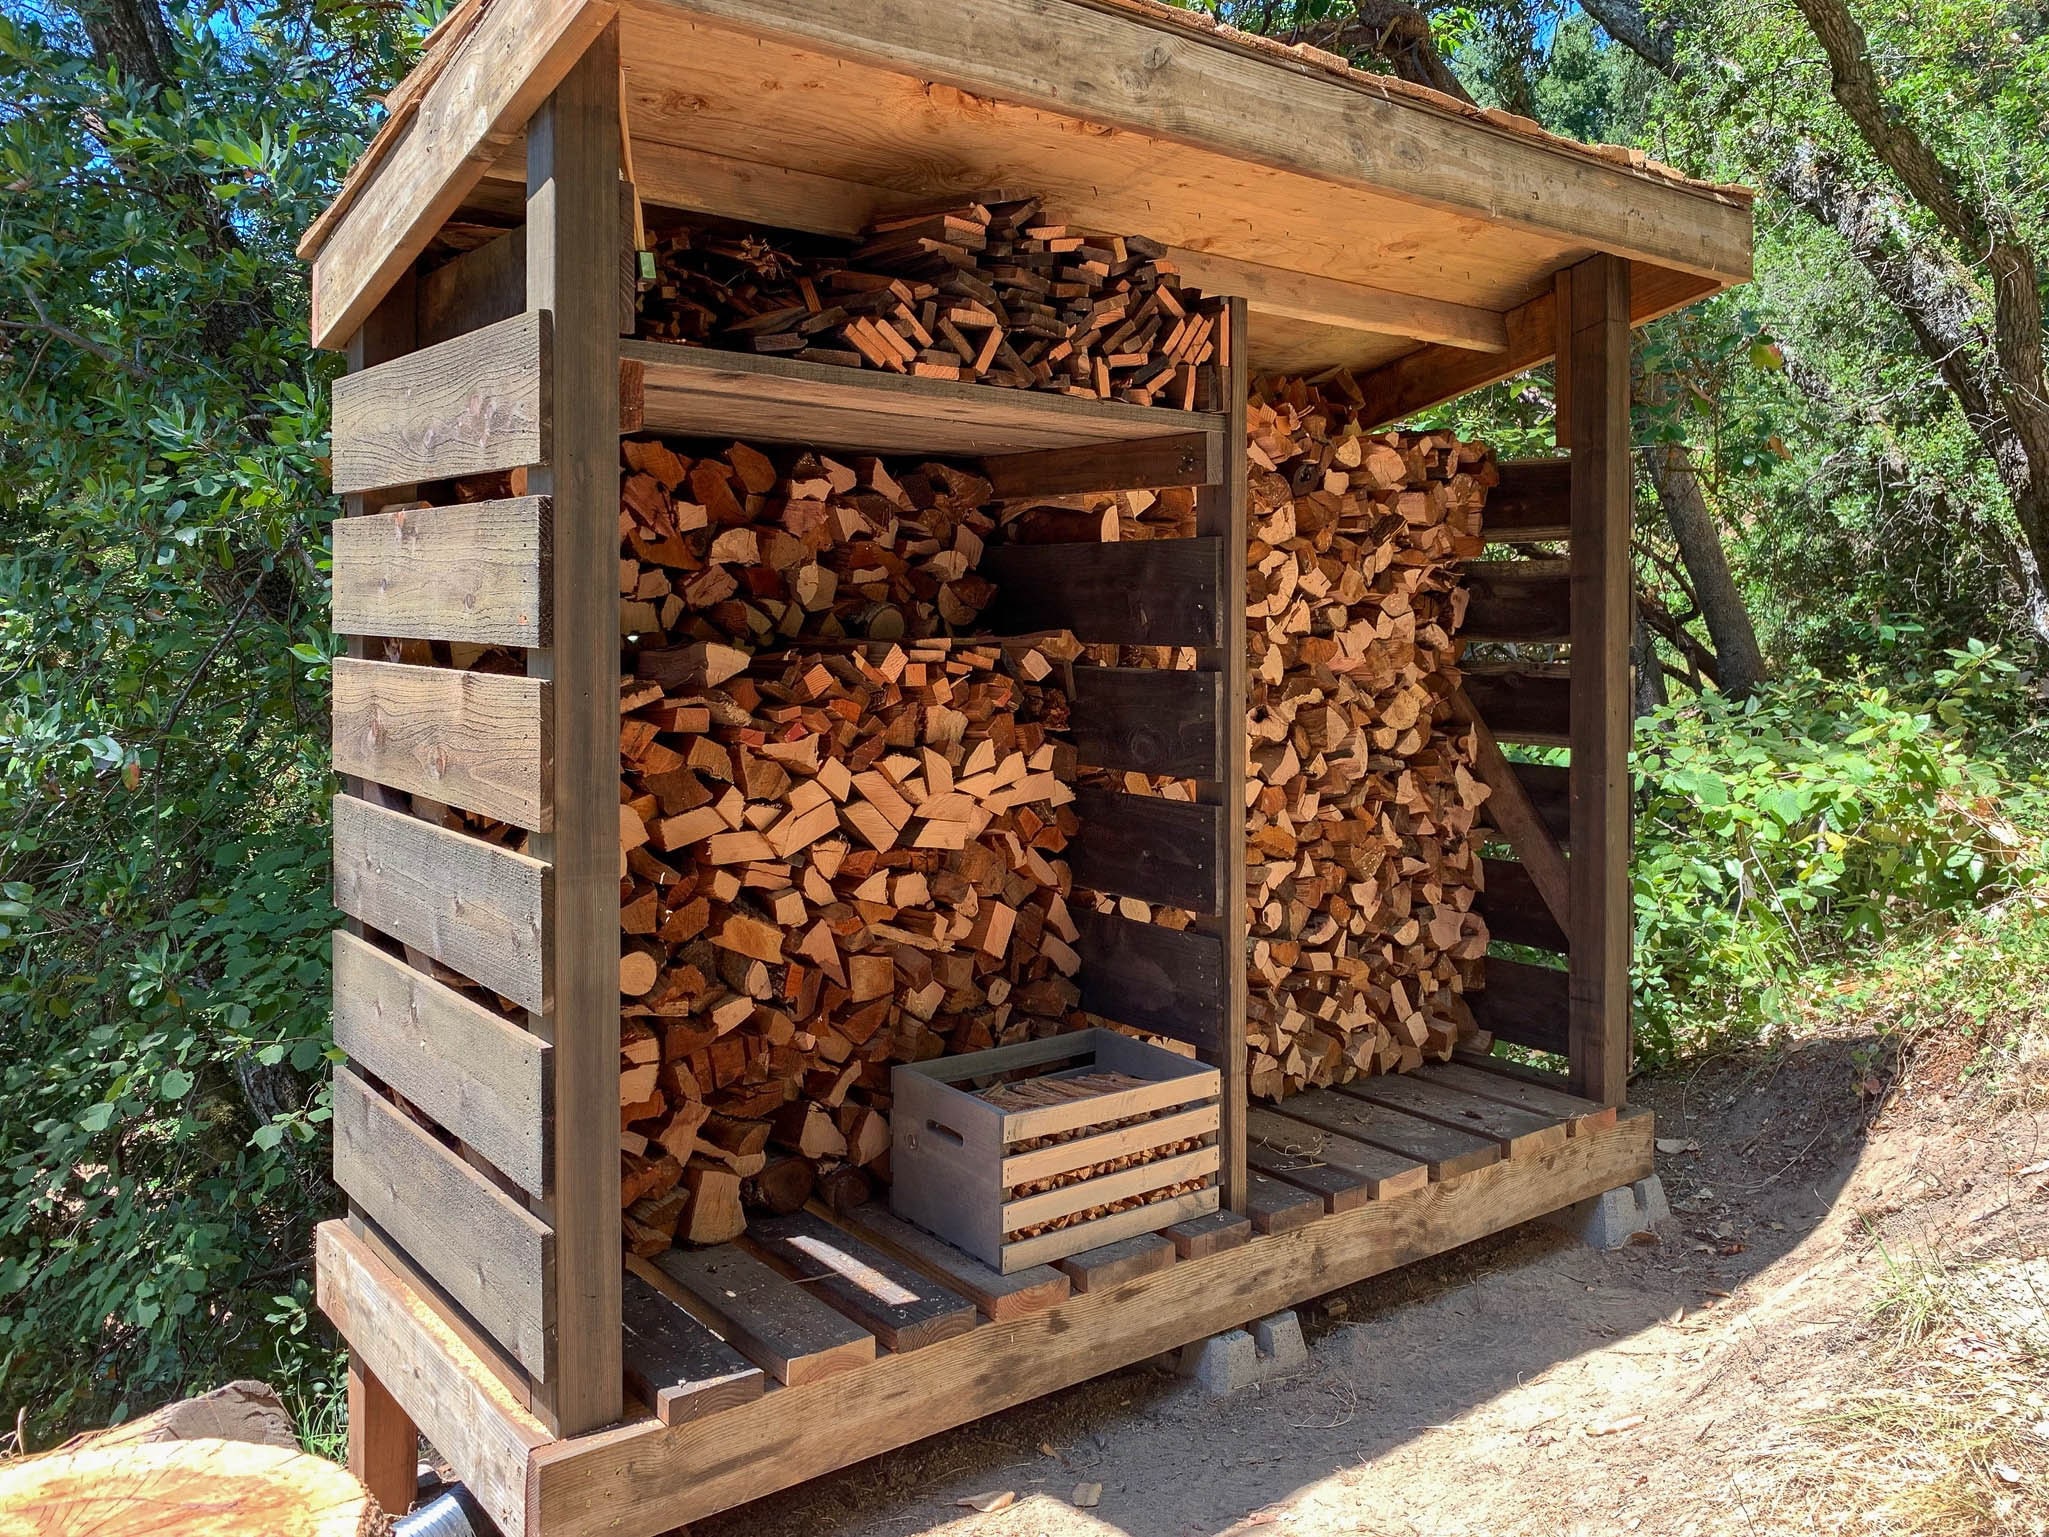
DIY Lean-To Shed: A Fresh Take on Outdoor Storage Solutions
Tired of cluttered garages and overflowing garden sheds? Yearning for a simple, stylish, and affordable solution to your outdoor storage woes? Building your own lean-to shed offers a fantastic opportunity to reclaim valuable space and add a touch of rustic charm to your property. This project empowers you to design a structure tailored to your specific needs, utilizing readily available materials and basic construction skills. Forget expensive pre-fabricated sheds; let's explore the rewarding experience of crafting your perfect lean-to storage solution.
Planning Your Lean-To Shed: Size and Site Selection
Before you grab your tools, careful planning is crucial. First, determine the dimensions of your lean-to. Consider the amount of storage you require and the available space against an existing wall or structure. A smaller lean-to, perhaps 6ft wide by 8ft deep, will suffice for storing gardening tools and equipment. Larger projects demand more materials and construction time. Next, select the ideal location. Ensure the area is level and offers adequate drainage to prevent water accumulation. Check local building codes for any restrictions on shed placement or size. Consider proximity to power outlets if you plan on adding electricity, and always prioritize easy access.
Gathering Materials and Tools: A Detailed Checklist
Building a lean-to shed requires a combination of materials and tools. This isn't a project for the faint of heart, but the rewards outweigh the effort. Your materials list should include: pressure-treated lumber for the frame (4x4 posts, 2x4 rafters, and 2x6 floor joists), plywood or OSB sheeting for the walls and roof, roofing felt or shingles, screws, nails, concrete for post anchors, and weather-resistant paint or stain. On the tools front, you’ll need a post hole digger, level, measuring tape, saw (circular saw recommended), drill, hammer, and safety glasses. Don't forget a shovel for leveling the ground and potentially a wheelbarrow for moving materials!
Essential Tool Checklist:
- Post hole digger
- Level
- Measuring tape
- Circular saw
- Drill
- Hammer
- Safety glasses
- Shovel
- Wheelbarrow (optional)
Construction Process: Step-by-Step Guide
The construction process begins with digging holes for the support posts. These posts should be set in concrete for stability. Next, assemble the frame, using pressure-treated lumber to construct the base and roof structure. Ensure the frame is perfectly square and level throughout the construction process. Once the frame is secure, you can attach the plywood sheeting to the walls and roof. Remember to use appropriate fasteners, and always prioritize safety. Finally, install the roofing material, ensuring proper overlap to prevent leaks. Apply a protective sealant around any potential points of water entry. A final coat of weather-resistant paint or stain adds longevity and aesthetic appeal.
Adding Personal Touches: Enhancements and Upgrades
Once the basic structure is complete, consider adding personal touches to personalize your lean-to. Installing a sturdy door provides enhanced security. Adding windows not only enhances aesthetics but also allows for natural light. Consider using recycled or reclaimed materials for a more eco-friendly approach. Adding shelves inside maximizes storage space. The possibilities are only limited by your imagination and creativity. Remember to always prioritize safety and functionality when adding any enhancements or upgrades.
Building your own lean-to shed offers a deeply satisfying experience. It's a project that allows you to exercise your creativity, hone your DIY skills, and create a valuable addition to your property. So, grab your tools and get started on this rewarding venture! You'll be amazed at the transformation and the added storage you achieve.
0 comments:
Post a Comment
Note: Only a member of this blog may post a comment.